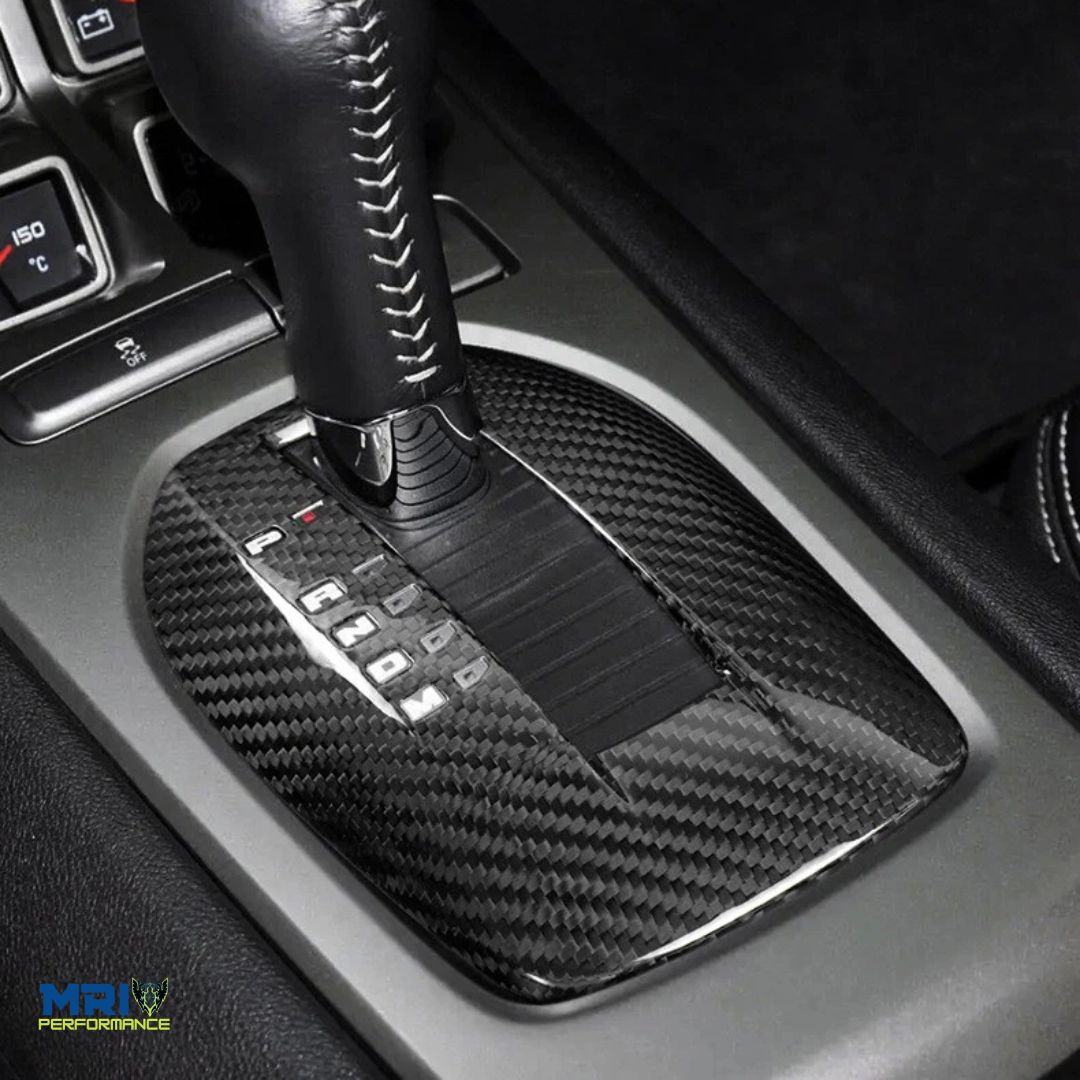
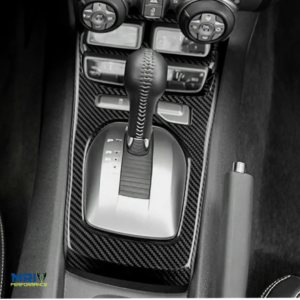
Transform your interior in minutes with our premium Carbon Fiber Gear Shift Trim Cover, part of our exclusive Molded Cover Lineup. Designed specifically for the 2010–2015 Chevrolet Camaro (Gen 5), this upgrade instantly elevates your cockpit from stock to race-ready.
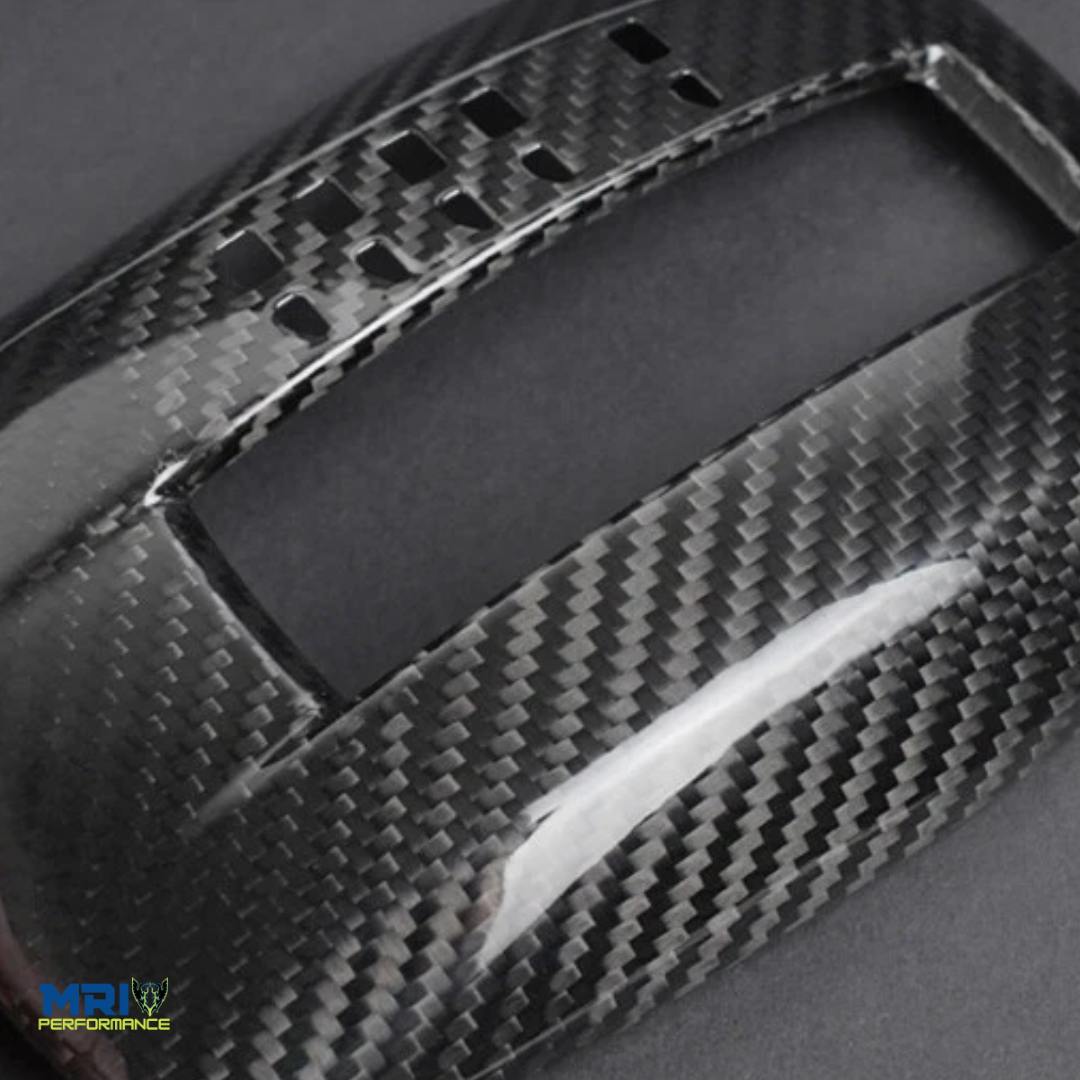
Crafted from 100% Real Genuine 2×2 Twill Carbon Fiber, this trim piece offers an OEM-level, seamless, non-bulky fitment that hugs the contours of your center console perfectly. Not only does it deliver an aggressive, high-end look, but it also protects your original interior parts from daily scratches and scuffs.
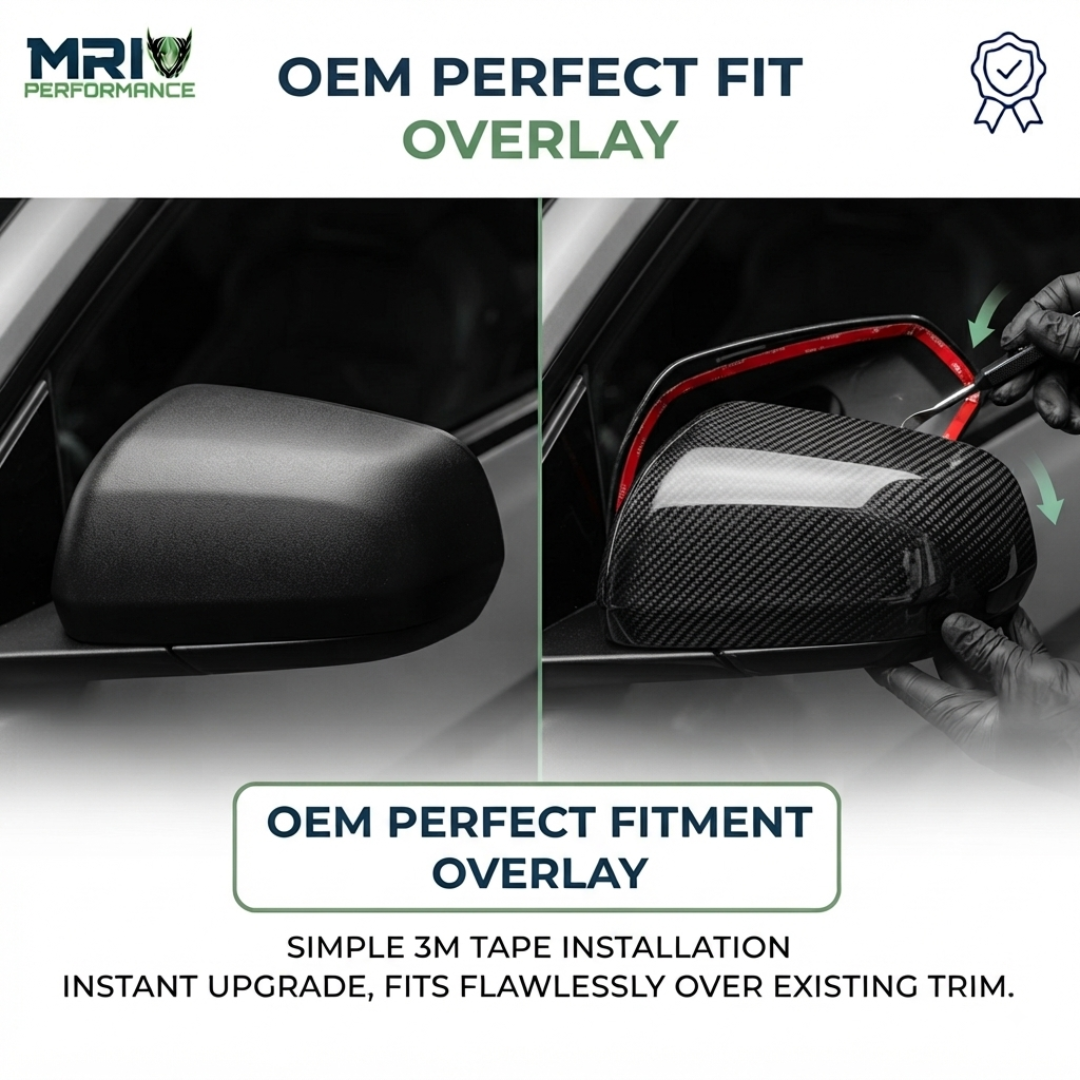
Installation is completely hassle-free thanks to the pre-applied, ultra-strong high-quality automotive adhesive. No permanent modifications required—just clean, peel, align, and stick!
Key Features & Benefits
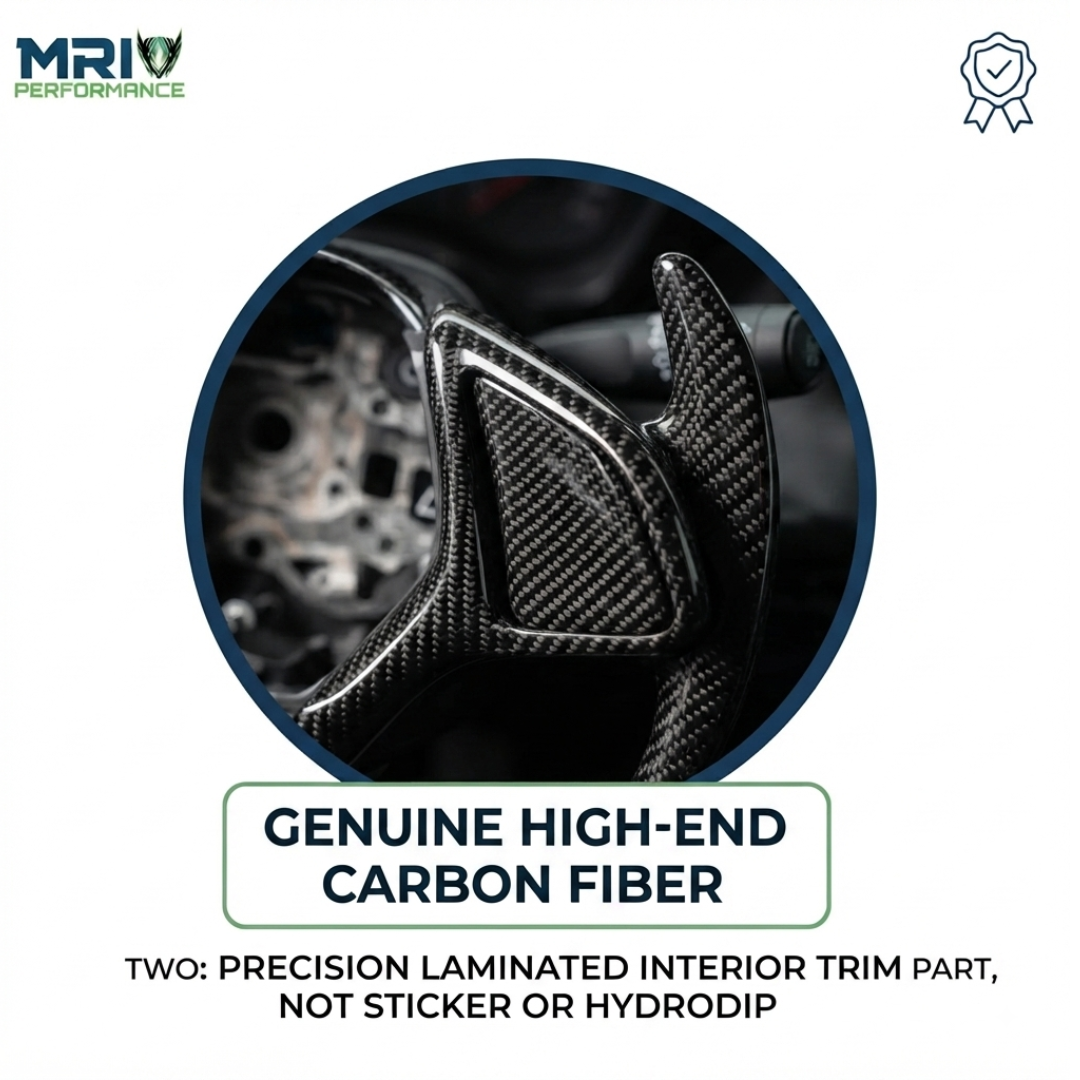
100% Real Carbon Fiber: Manufactured with authentic 2×2 twill carbon fiber for unmatched depth, gloss, and durability.
Seamless OEM Fitment: Precision-molded for a flush, non-bulky look that integrates flawlessly with your Camaro’s interior.
Scratch Protection: Effectively covers existing blemishes and protects your factory parts against future wear and tear.
Plug & Play Installation: Includes high-strength adhesive tape for a quick, secure setup within minutes.
Specifications
Material Type: 100% Real Genuine Carbon Fiber (2×2 Twill Weave)
Line-Up: Carbon Fiber Molded Cover
Category: Car Interior Accessories
Car Model Compatibility: Chevrolet Camaro (2010, 2011, 2012, 2013, 2014, 2015)
Placement Location: Gear Shift Trim / Center Console
Installation Guide
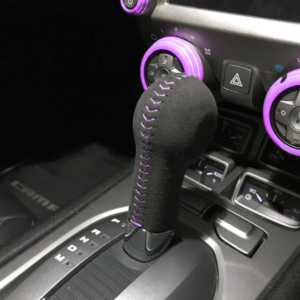
Step 1: Shift Knob Removal To properly install the trim cover, the entire shift knob must first be removed. Locate the hidden T-20 Torx screw on the bottom front of the shift knob. Use a small flathead screwdriver (or a similar small tool) to pop off the plastic cover concealing the screw, then remove the screw and slide the knob off.
Step 2: Surface Preparation Thoroughly clean the surface of your factory gear shift area using isopropyl alcohol. This removes all oils, dust, and contaminants to ensure maximum adhesion.
Step 3: Dry Fit & Stick After the surface is completely dry, hold the carbon cover in place without removing the adhesive backing to visualize the perfect alignment. Once ready, peel off the adhesive backing, carefully align the cover over the trim, and press down firmly. It’s that easy!
Car Model
Camaro 5th Gen (2010-2015)
Reviews
There are no reviews yet
Be the first to review “Chevrolet Camaro (2010 – 2015) Gear Shift Trim Cover Carbon Fiber” Cancel reply
Delivery times vary by product and destination. Generally, please allow 14-25 business days for delivery on most items. Expedited options may be available for some products please contact us before ordering.
We make every effort to specify fitment in the product title and description (e.g., “Camaro 2010-2015”). Please carefully check the details or contact us before purchasing to ensure compatibility with your vehicle.



Reviews
There are no reviews yet